Having a detailed website development process is crucial because it provides clarity, efficiency, and effective communication within our team and with our clients. It ensures consistency, quality, and risk management—reducing the likelihood of delays and cost overruns.
We have found that a structured process enhances client satisfaction, fosters accountability among team members, and allows for better cost control. Additionally, it results in comprehensive documentation, which is valuable for future reference and maintenance. In essence, a well-defined process is the foundation for successful website development, ensuring a smoother workflow and higher-quality end product.
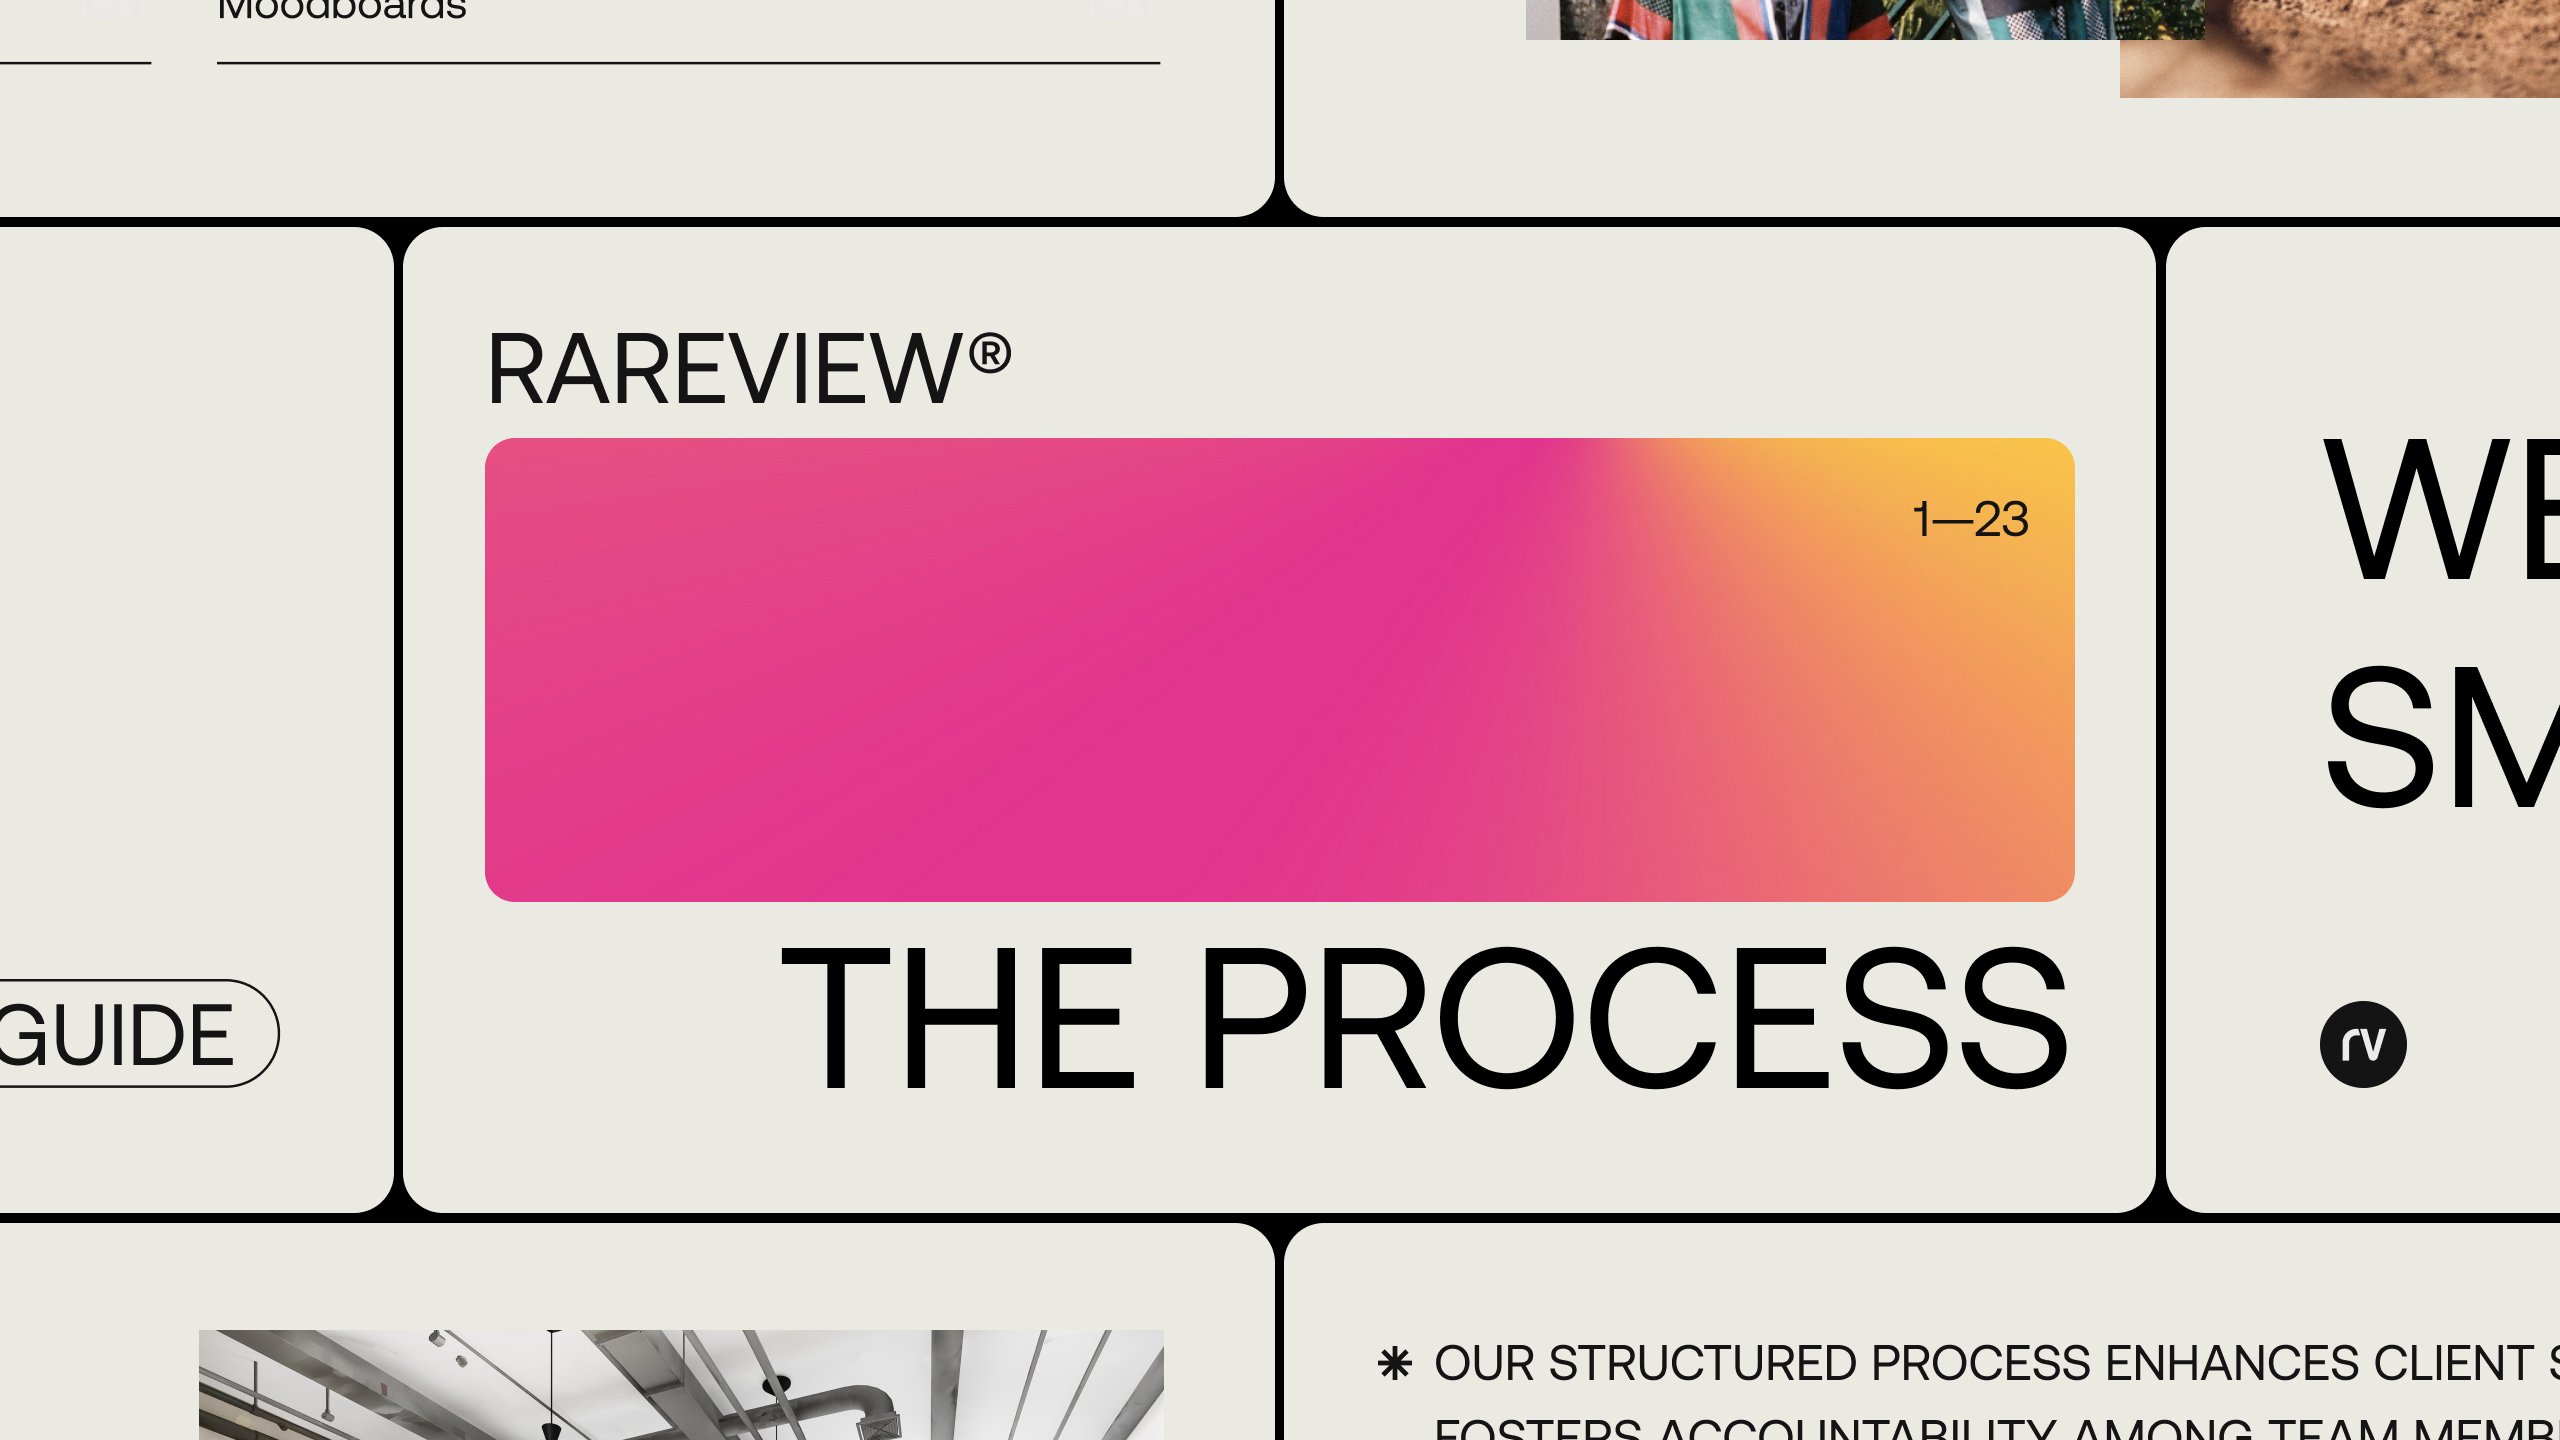
Below you’ll find a detailed description of our entire process from start-to-finish.
Planning Phase
Steps 01-06
The first thing we do when we start any project is schedule a team kick-off meeting that includes all stakeholders. We go through team introductions, a discussion of our entire process and how things will work—so there are no surprises and so the client knows we “have our sh!t together.” We want to discover who’s responsible for what and what the decision tree looks like—how will we be getting approvals during this project?
Then we jump into the project scope. We review everything we learned during the sales process for team members who are not fully up-to-speed. We ask our clients to repeat what they’ve told us because we know that repetition is incredibly important to learning a new subject.
“Repetition is the mother of learning, the father of action, which makes it the architect of accomplishment.”
This initial kick-off meeting is a critical first step in ensuring our teams start off on the right foot. Most projects take 6-12 months, so we’ll be working together for a while. Learning a bit about what makes each other tick is essential in our work.
The research portion starts immediately after we begin a new project. We want our project team to examine the competition, review industry tendencies, and do a refresher on design/development trends for this type of project. If we’re thinking about some animation, for example, which is the best library or language for us to use, what’s up and coming, and what new ideas might we have?
We also want to gain an understanding of our client’s preferences. Many clients have already spent some time thinking about this project and may have documents, ideas, concepts, sketches, or other materials to pass along to us.
During research, we want to be a sponge. We aim to listen more than we speak.
“We have two ears and one mouth, so we should listen more than we say.”
Although we’ve been doing this for 20+ years, and have likely worked on a similar projects or in the same industry before, it’s important that we approach each project with a fresh mindset. We have to almost pretend that we don’t know anything and we need a crash course. This helps remove biases and ensures we don’t simply recreate something we’ve done before.
Each and every client and project is unique and the approach should be as well.
Specifications for the project typically start during the sales phase in all reality, but many times they are quite high-level and lack the complete details that we need.
We start by defining the project as a whole and then breaking it down into digestible parts. We meet with the client several times to discuss and determine business requirements and needs as well as to flush out any “unknowns” early on.
Unknowns are budget and timeline killers, so the more we can define up front during the planning phase, the better.
It’s not always perfect and things change. We think of the web development process like building a house. Most times it’s nearly impossible to set the project in stone at the onset and expect it to stay that way from start-to-finish.
As the project evolves, new ideas emerge, and as a mid-sized agency Rareview can accept changes, pivot, and deliver quickly. Our teams stay nimble as we go because change is inevitable.
The next thing we do is create a master schedule for the project. This includes a calendar of major milestones. We typically do this in Notion, our project management tool of choice. We have recently starting to export these calendars as PDFs to share with clients.
Why are we exporting calendars if we give clients access to Notion? We have found that many corporate clients have restricted access to 3rd party tools like Notion and Slack, so we are adjusting our processes to ensure fluid communications.
Many clients who do have access still don’t login often because it’s not a tool in their daily workflow. Really, the project management tool is great for the agency, but not necessary for the client. As long as we can export data, share, and communicate regularly, everyone will remain on the same page working towards the same outcome.
As we build milestones and the project progresses, we will begin to break down milestones into smaller tasks.
We are almost finished with the Planning Phase. Next, we setup all communication channels. For years we have been using a few tools to keep our teams in sync.
- Slack — we create 2 slack channels. One is a Slack connect with the client and one is an internal slack channel where we can discuss the project in-depth internally.
- Notion — we build out a Notion team space for each project with multiple pages, such as tasks, calendar, meeting notes, etc.
We invite the client to both. One thing we’ve been noticing is that many clients in the corporate environment are blocked access to one or both of those tools, which makes things more difficult for instant communications.
Thus, we are testing another solution.
- MMS/SMS — we setup a group chat and add our contact cards so they can be added to each person’s address book on their phones. This way they can text us individually or on the group chat.
We have a simple objective with opening multiple lines of communication—to provide transparency in the work we do and a means to talk with our team at any time during our partnership. We feel that more communication is better than less. And it’s proven to work.
This is something that seems to be unique to Rareview, but when a project kicks off we create a document called a changelog.
The changelog is a record of all notable changes made to the project from it’s inception. Regardless of what “type” of project we are working on, we record our work on a weekly basis (if not more often) in a changelog that is available at all times to everyone on the project team(s).
Some projects have a lot of “tasks” from Notion that we list in the log (we can link to them using the “@” feature). Other projects are more curated, where we create a list of important milestones or work we’ve done that week for each aspect of the project (such as design, engineering, marketing, etc).
Our project manager maintains this changelog for us, but each department head is responsible for documenting their weekly progress to the PM.
We have found several benefits to keeping a changelog.
- It keeps a record of our work that we can always refer back to if there’s any questions/concerns/issues
- It provides a real-time summary of our progress each week
- It forces our team to evaluate our pace and determine if we need to make adjustments going into the next week to stay on track with deadlines
This can be a cumbersome task and it can easily be overlooked some weeks. We make it a priority, however, because we have found it to be very valuable in many situations. Plus, as mentioned previously, more communication is better than less.
design Phase
Steps 07-12
The first thing we usually do is create a sitemap. The sitemap provides a diagram of the site’s hierarchy and shows where each page belongs.
Often times, we begin with a written ordered list, starting with the homepage (or index).
This is great for communicating page topics and relative hierarchy. However, this is not so good at communicating user paths between those pages.
As an example, it does not communicate where pages fall in the navigational structure of the site. If there are 3 pages titled Team, History, and Diversity and they belong under a dropdown labeled “About Us,” there’s no way to indicate that besides indenting these pages in the list.
Thus, once the list is created to move to a visual sitemap.
This typically takes the shape of a horizontal diagram consisting of boxes, lines, arrows, and other shapes that more clearly indicate how a user will navigate the website and access various pages and content.
For those who are less technologically-inclined, it’s usually a better representation of the overall architecture of the site because it’s essentially a picture.
Our sitemaps have taken many shapes over the years. Each project is different and some sitemaps are extremely complex while others are more simplistic.
Either way, the sitemap provides a blueprint for the entire website and captures hierarchy well.
As an evolution to Step 7 (Sitemaps), we sometimes move into wireframes. They’re not always needed, but for complex sites or determining the right layout of content without worrying about visuals, there is no substitute.
Wireframing is a quick and effective way to identify usability issues early on in the design process. This “skeleton” is a great way to show layouts, spacing, elements, and content hierarchy.
It’s really important that wireframes are kept simple. The point of wireframing is to show how elements are laid out on the page and how the navigation should work. The inclusion of colors, images, graphics or anything else only distracts the user and leads to confusion.
When we’ve used too much design in the past, the client starts to look at the wirefame as the design itself. So, use the K.I.S.S. method.
- Colors should only be white and black, with some grays
- Use a generic font
- Avoid images
This crucial portion of a project often ends up overlooked, discarded, or given minimal attention. Many clients recognize their content needs, yet only begin considering it when website development is already underway.
Unfortunately, most agencies also tend to neglect this vital aspect, which has a negative impact on the final project outcome.
When embarking on a new website project, it’s imperative to conduct a thorough assessment of your existing content. A substantial portion of this content will invariably require revision.
Content plays a pivotal role in shaping the design. Without a firm grasp of the appropriate content, messaging, and its placement, crafting an effective design becomes an arduous task.
Within this assessment phase, a comprehensive examination of analytics is undertaken. If the client utilizes a content platform like Parse.ly, it provides a powerful resource for gaining insights into the content’s performance. In cases where such a platform is absent, we rely on tools like Google Analytics to glean valuable information. The primary objective is to identify high-performing content and formulate a strategy for generating superior content for the new website.
We collaborate with the client to establish a comprehensive content plan, allocate responsibilities for content creation, and methodically arrange site content—prior to embarking on the visual design phase.
Now that the framework is in place and the structure is clear, it’s time to start working on the visual design (UI):
Moodboards
This will serve as a reference point throughout the design process to maintain a consistent visual style.
Color Schemes
Keep in mind color psychology and accessibility considerations for a wide range of users.
Typography
Choose fonts that are legible and align with the brand’s identity. Select a primary font for headings and a secondary font for body text. Maintain consistency in font usage across the website.
Layouts
Start translating your wireframes into actual layouts. Pay attention to the placement of headers, navigation menus, content sections, sidebars, and footers. Keep the layout clean, balanced, and easy to navigate.
Visual Elements
Incorporate images, icons, illustrations, and other visual elements that resonate with the brand and enhance the content. Make sure visuals are high-quality, appropriately sized, and optimized for web use.
Responsive Design
Design for various screen sizes and devices.
Two billion people—51% of the global population—access the internet only from their smartphones. By 2025, that number is expected to jump to 72.5%.
Mobile-first design is a design philosophy that aims to create better experiences for users by starting the design process from the smallest of screens: mobile. At Rareview, we have a mobile-first philosophy when it comes to visual design. We start small and then go big.
Prototyping
Create interactive prototypes using tools like Adobe XD, Figma, or InVision. Prototypes help you test the functionality and flow of the design before moving to development.
We typically go through several rounds of ideation and revisions with the client. Once completed, we will create a style guide to act as a reference point for future design and the development of the website.
Creating a style guide after the visual design is complete is a crucial step to ensure consistency and coherence across all aspects of the website. Here’s the step-by-step process we follow:
Review the visual design
This includes the color palette, typography, imagery, iconography, spacing, and any other design elements that have been used.
Document design elements
Create a comprehensive list of all the design elements used in the visual design.
Define usage guidelines
For each design element, provide clear guidelines on how they should be used.
Layout and spacing
Define the layout grid, spacing (margins and paddings), and alignment rules that were used in the visual design. Specify how much space should be maintained between different elements, such as headers and content blocks. This helps maintain consistent spacing throughout the website.
Responsive guidelines
Specify breakpoints and how the layout might change as the screen size changes.
Interaction and animation
If the visual design includes interactive elements or animations, outline how they should work. Provide guidelines on hover effects, button states, and any other interactive behaviors.
Content guidelines
Outline guidelines for incorporating text and imagery into the design. Specify preferred image dimensions, image types (JPEG, PNG, SVG), and where to use them. Provide guidelines for creating consistent and effective content layouts.
Accessibility considerations
Specify color contrast ratios, ensure text is legible, and provide guidance on creating accessible forms and interactive elements.
Examples and visuals
Use actual screenshots or mockups from the visual design to illustrate different guidelines. This helps make the guidelines more tangible and easy to understand for developers. At Rareview we create a lot of videos.
The goal of a style guide is to maintain design consistency and streamline the development process. It should be a go-to resource for anyone working on the website to ensure a cohesive and polished final product. In most cases we are use Figma to create our style guides.
The visual design concept is now complete and approved. While the style guide is being finalized, our design team works through all remaining major pages of the site.
We take into consideration the content, imagery, and media—as well as the intent of the page—as we start laying out various sections and pages. Pages are designed in both mobile and desktop form factors.
Remember that web design is a collaborative process that involves effective communication and iterative feedback. We keep the user experience in mind and aim to create a design that not only looks great but also enhances the usability and functionality of the website. We take this approach on every single page of the site. We’re typically not designing a template—we’re designing a complete custom site, from top to bottom.
Once all pages are designed and completed, the client will sign off on the design phase. Then we move to the development phase.
development Phase
Steps 13-23
Once the design phase is finalized, the project transitions to the development (or engineering) stage.
First, we initiate the creation of the website instance. Given our extensive experience with WordPress and our status as a WordPress VIP Gold Partner, I will use WordPress as the chosen CMS for the purpose of this process explanation.
The implementation of WordPress involves the selection of either a single-site or multisite configuration, along with the flexibility of traditional (monolithic) or headless architecture.
Our dedicated engineering team is responsible for establishing local development environments. Additionally, GitHub repositories are established to facilitate comprehensive code review and seamless check-ins.
Lastly, to ensure code quality and expedite development, we incorporate automated quality assessment procedures and deployment mechanisms. These not only accelerate the development process but also serve as an initial line of defense against potential code-related challenges.
One of the key responsibilities of our Project Managers is to streamline the transition from design to development. A crucial component of this process involves creating a well-organized kanban board for task management.
In essence, this entails dissecting each site element into manageable “parts” that can be developed. Our tool of choice for this is Notion. Each development task is represented as an individual item on the board.
These task items encompass several elements: the task’s title, assignment (indicating the current responsible person), category, accompanying screenshots, and video explanations.
To maintain organized discussions related to each task, the comments section within the task is utilized.
The kanban board is structured into distinct phases, each signifying a specific stage in the development process. These phases typically consist of:
- Not started
- Gathering Information
- Ready for Development
- In Progress
- Internal Review
- Quality Assurance (QA)
- Completed
As tasks progress through these stages, the ownership of the task may change hands. As the responsibility shifts to different team members, they carry out the task and advance it through the phases, occasionally regressing it if necessary.
Upon task completion, our engineers furnish links to the development environment. This facilitates viewing of the implemented changes and features.
Additionally, video demonstrations are provided to showcase both front-end and back-end (admin) functionalities.
Building a custom WordPress theme using the Gutenberg Block Editor involves several steps that combine design, coding, and testing.
Gutenberg is the modern WordPress editor that focuses on using blocks to create and arrange content. Here’s an overview of our process. This process spans several phases. This is the beginning part.
- Create a new theme directory in the
'wp-content/themes'directory, create a folder for your custom theme. - Inside your theme directory, create essential files like
'style.css','index.php','header.php','footer.php', etc. - In
'style.css', define the theme name, description, author, version, and other metadata. This is also where you enqueue your stylesheets.
(to be continued)
(…continued from previous step)
- Register a new block category—you can create a custom block category for your theme’s blocks to keep them organized.
- Develop custom blocks by writing JavaScript code to create custom blocks using the WordPress Block API. Each block needs a backend (PHP) and frontend (JavaScript) component.
- Use the
@wordpress/block-editorand@wordpress/scripts packages(if using npm) for easier block development. - Build block interfaces—design the block interfaces using React components, which allow content creators to edit block content visually.
- Create a CSS file for your theme’s styles. Apply CSS styles to your blocks and other theme components.
- Customize the WordPress Customizer—allow users to change theme settings like colors, fonts, and layout through the WordPress Customizer. Add support for post formats, featured images, and other WordPress features as needed.
- Test block functionality thoroughly, making sure content can be added, edited, and rearranged without problems.
Themes, blocks, and layouts in WordPress are closely interconnected. However, it’s crucial to leverage custom page templates when developing a bespoke WordPress website.
Following the designs crafted in Figma, our engineers identify and create customized page templates that can be applied across the entire website.
Different pages, such as ‘About Us’ or ‘Press,’ may require distinct layouts. While we can use blocks to construct pages, having dedicated page templates often becomes a necessity.
Page templates prove invaluable when:
- The hero section of a page significantly varies.
- Video or animations are incorporated.
- You wish to perform straightforward tasks like eliminating the page title, which is quite common.
For instance, we might employ a 'default' page template alongside a 'no title' page template. This distinction is beneficial because, without PHP modifications, users have no straightforward method to remove the page title themselves, especially when it isn’t represented as a unique block in Gutenberg.
This is precisely where a well-crafted page template becomes indispensable.
We initiate quality assurance and user testing approximately midway through the development process. This comprehensive testing phase involves multiple users evaluating the product on various devices (desktop computers, laptops, tablets, phones), across multiple operating systems (Windows, Mac, etc.), and using several web browsers (Safari, Chrome, Edge, Firefox, etc.).
Our testers are responsible for meticulously documenting each identified “bug” as a separate task for our engineering team. To create these tasks, they follow a set of crucial steps, including:
- Providing a detailed description of the issue.
- Specifying the operating system.
- Indicating the browser and its version.
- Noting the device and its version.
- Including screenshots.
- Providing a video demonstration.
- Assigning the task.
- Setting the priority.
In our extensive experience, we have found that screenshots are almost always necessary, and videos prove extremely helpful for developers seeking to replicate the identified bug.
Once a page or feature has undergone internal testing, it is then subjected to “client QA,” where the client conducts further testing.
Upon successful completion of this client evaluation, we consider the task or feature to be finalized.
Our code review process consists of several steps. Initially, we conduct internal peer reviews before each commit. During this phase, engineers who are part of the project but not directly responsible for the specific block of code review and inspect it for errors and issues.
As a WordPress VIP partner agency, our second level of code reviews follows a structured process utilizing VIP tools and services to provide more comprehensive and timely feedback on code within pull requests. This process includes:
- Automated Scans: All pull requests submitted to a wpcomvip GitHub repository for a WordPress application undergo automated scans performed by the VIP Code Analysis Bot.
- Manual Code Review: Customers with higher support plans have the option to request manual code reviews for pull requests that contain custom code intended for their WordPress application.
- Deployment Validation Tests: Node.js applications can choose to participate in an automated suite of deployment validation tests that are executed against pull requests.
Here’s our step-by-step process for addressing and fixing bugs throughout the development phase, using Notion to document and support the process with screenshots and videos:
Bug Identification
We start by identifying and documenting each bug encountered during the development phase. Common sources for identifying bugs include user testing, code reviews, and automated testing tools. When identified, we create a Notion task to log and track each bug. We include fields for description, severity, steps to reproduce, the person who reported it, and the date it was discovered.
Bug Prioritization
We ask users to prioritize bugs based on their severity and impact on the website’s functionality and user experience. We use labels in Notion to categorize bugs as critical, high, medium, or low priority.
Bug Isolation
Developers isolate the bug by examining the code and the specific circumstances that trigger it. We use debugging tools and techniques to pinpoint the root cause of the issue.
Fix Development
Once we have identified the cause of the bug, we begin working on a fix. Developers include code snippets and changes required to resolve the issue. They add comments or explanations to make it easier for others to understand the changes.
Testing and Verification
Before marking a bug as fixed, we thoroughly test the website to ensure that the issue has been resolved. We verify that the fix didn’t introduce new bugs or regressions. We try to record our testing process by capturing screenshots and recording videos of the bug before and after the fix. These visual aids will help others understand the issue and the resolution.
Documentation
We update Notion with the details of the fix, including the date of the fix, the developer responsible, and any relevant links or references to code changes. If possible, we attach screenshots and videos demonstrating the bug and its resolution. This provides clear visual evidence of the problem and its solution.
Testing by Others
If possible we have another team member or a dedicated QA tester verify the fix. This helps ensure that the bug is truly resolved and didn’t introduce any unexpected issues.
Deployment
Once the fix has been confirmed and tested thoroughly, it’s time to deploy it to the production environment. It’s important to follow the organization’s deployment procedures and best practices.
Closing the Bug
In Notion, mark the bug as “closed” or “resolved.” We include a summary of the fix and any relevant closing remarks. Using Notion we keep a record of the bug for future reference, in case a similar issue arises again.
Post-Deployment Monitoring
After deployment, we continue monitoring the website to ensure that the bug doesn’t resurface and that the fix doesn’t cause any new issues.
It’s time to initiate the launch process! To ensure a seamless launch, it’s crucial to create a comprehensive launch plan that encompasses all the necessary details for going live. This plan should cover various aspects, including hosting and server configurations, domain (DNS) updates, timelines, and effective coordination among all stakeholders.
Numerous projects involve multiple parties, such as different agencies, contractors, hosting providers, and individuals from various departments within the company. Therefore, it is of utmost importance to define responsibilities and meticulously document the entire go-live procedure.
The launch plan also includes a “code freeze” period. The code freeze does not allow new code changes or updates to be made to the project’s codebase for a specified period leading up to the launch. This freeze is typically implemented to ensure stability and minimize the risk of introducing new bugs or issues just before the launch.
We specify when the code freeze will begin and end, what types of code changes are allowed (if any) during this period (e.g., critical bug fixes only), and who is responsible for enforcing the freeze. Additionally, we outline the procedures for testing and validating the code during the freeze to ensure that it’s in a stable and deployable state for the launch.
This meticulous planning is instrumental in guaranteeing a successful and trouble-free launch.
Documenting our completed web design projects are crucial for tracking work, aiding future updates, and serving our clients.
The process involves gathering assets, creating an overview, documenting design and technical details, CMS setup, testing, deployment, maintenance guidelines, and client training materials if needed.
We review and deliver the documentation to the client once the site is live and provide post-launch support. Proper documentation will assist in future development and empower the client to onboard other developers in a timely fashion.
Training our clients to use the website after it’s built and launched is an essential step to ensuring they can manage and update their site effectively. Here’s some of things we typically cover:
- Dashboard overview: Introduce the WordPress dashboard and its key components.
- User roles: Explain user roles (Administrator, Editor, etc.) and their permissions.
- Content management: Teach creating, editing, and deleting posts and pages.
- Media Library: Show how to manage media files.
- Menus: Explain how to create and customize navigation menus.
- Widgets and sidebars: If needed, cover widget and sidebar management.
- Themes and customization: Show how to change themes and customize design.
- Plugins: Introduce plugins discuss what they do.
- SEO and optimization: Discuss SEO practices and tools.
- Security and updates: Stress importance of updates and basic security practices.
- Troubleshooting: Teach how to troubleshoot common issues.
- Practice and Q&A: Encourage practice and answer questions.
- Documentation: Provide training materials as discussed in prior step.
By following steps like these and tailoring training to our client’s specific needs we can ensure they are well-equipped to manage their website effectively.